How to Access Your UK eVisa: A Step-by-Step Guide for Immigrants
Switching to an eVisa makes managing your UK immigration status easier and more convenient. This guide explains how to create your online account, confirm your identity, and access your eVisa without the need for physical documents like residence permits or visa stickers. Let’s walk you through it step by step.
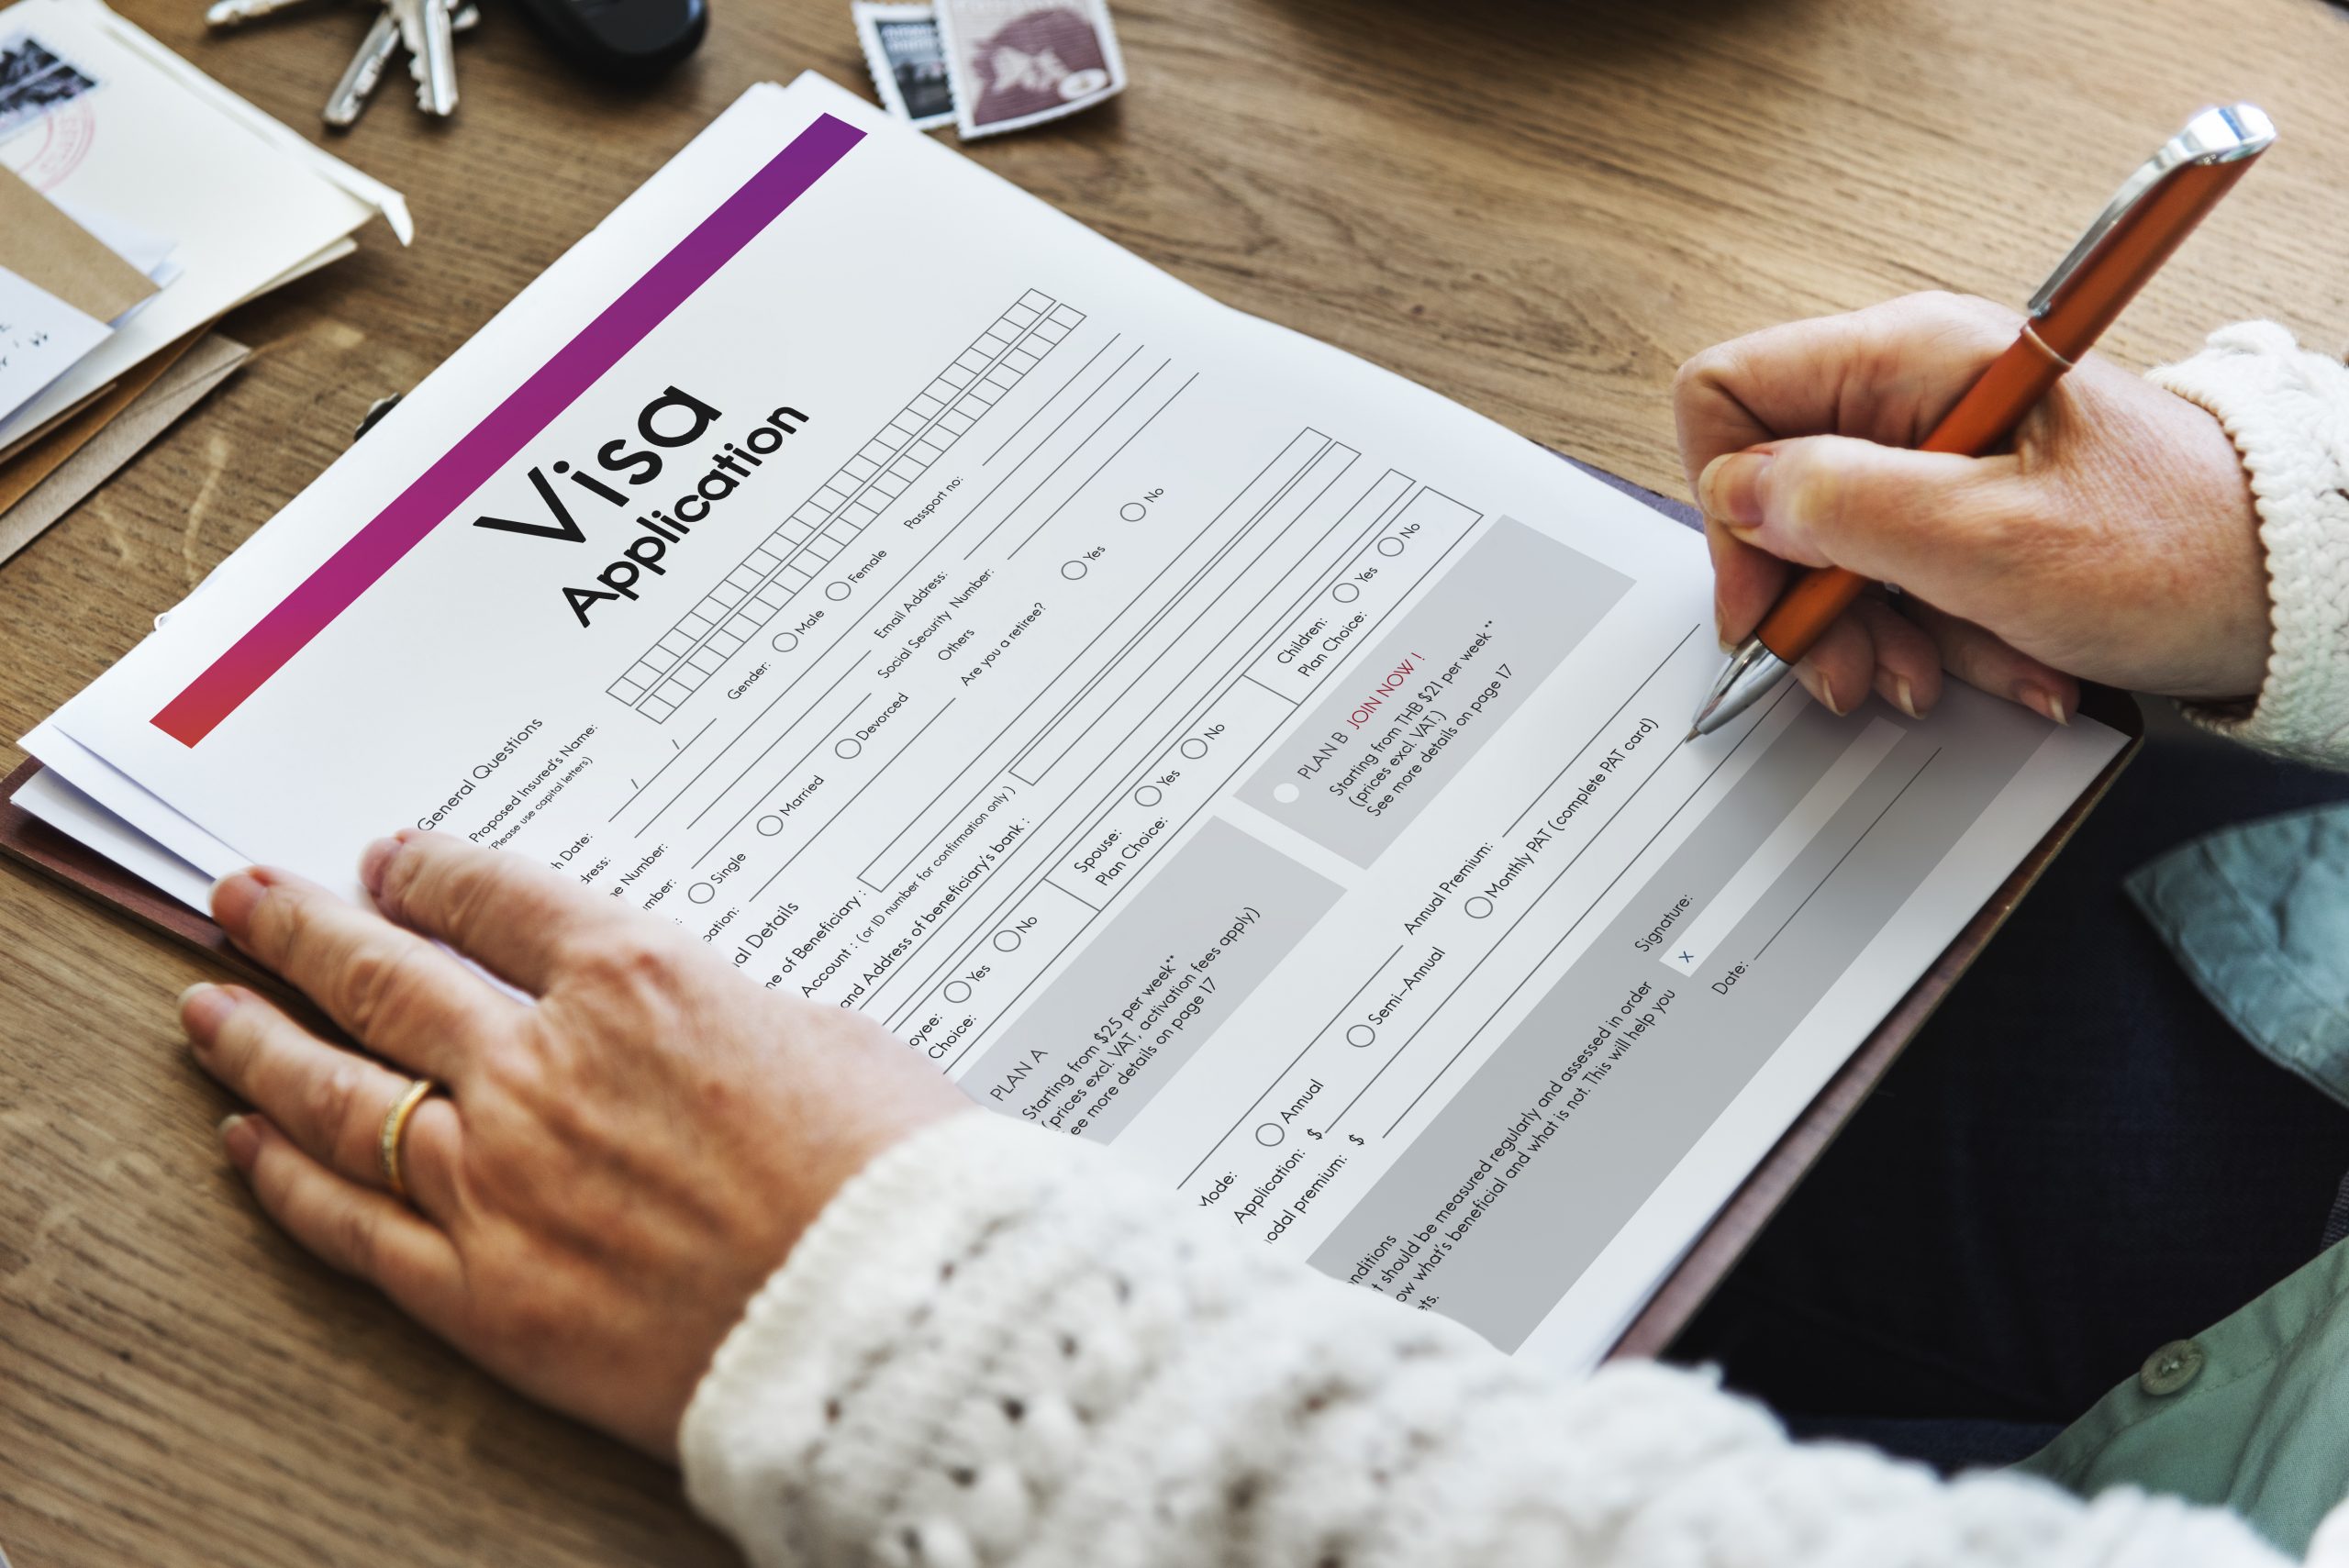
What Is an eVisa?
An eVisa is a digital record that shows your permission to live, work, or study in the UK. Instead of carrying a physical visa or permit, all your information is online. You can use this digital visa to prove your immigration status when needed.
What Do You Need to Create Your UKVI Account?
To access your eVisa, you’ll need to set up a UK Visas and Immigration (UKVI) account. Here’s what you’ll need:
- A device with internet access: This could be a smartphone, laptop, or tablet. If you don’t have one, you can borrow a friend or family member’s device.
- Your ID document: This can be your passport or your Biometric Residence Permit (BRP), which is a card that shows your immigration details.
- A reference number from your visa application: This is the number you were given when you applied for your visa. It’s usually sent via email and might look like “GWF12345” or “UAN67890.” If you can’t find it, visit gov.uk for advice.
- Your date of birth: Used to verify your identity.
- An email address and phone number: These will be linked to your account.
- Access to the UK Immigration ID Check app: This app helps you confirm your identity. You can download it from the Google Play Store or Apple App Store.
How to Create Your UKVI Account and Access Your eVisa
Step 1: Create Your UKVI Account
- Go to gov.uk and find the section for creating a UKVI account.
- Enter your details, such as your name, date of birth, and email address.
- Provide your ID information (passport or BRP) and your visa application reference number.
- Click “Create Account.” You’ll get an email to confirm that your account is set up.
Step 2: Confirm Your Identity
- Use the UK Immigration ID Check app to verify your identity.
- Open the app and follow the instructions to scan your passport or BRP.
- Take a clear photo of yourself. Treat this like taking a passport photo, as it will have the link to your immigration record.
If you’re using a computer, you’ll need to connect the app on your smartphone by scanning a QR code or using a connection code.
Step 3: Link Your eVisa to Your Account
Complete any tasks listed in your UKVI account. This might include checking your details and agreeing to a declaration.
Once you submit the required information, you’ll receive an email when your eVisa is ready to view. This might take a few days.
Traveling with Your eVisa
Before traveling outside the UK, make sure your passport is linked to your eVisa. If you’ve renewed your passport, update your UKVI account with the new details to avoid any issues when returning to the UK. You can do this on gov.uk.
Need Help? We’ve Got You Covered
Switching to a digital eVisa might seem daunting, but you’re not alone. Learning Park Education Services is here to make the process simple and stress-free. Our team can:
- Guide you step-by-step through creating your UKVI account.
- Help you understand the requirements and gather necessary documents.
- Provide personal assistance to ensure everything is correct.
Contact Learning Park Education Services today and start on your UK eVisa journey. Let us simplify the process so you can focus on your exciting plans in the UK!